Out of Disk Space Error on MOSS 2007 During Content Deployment

I was migrating content for a client using the MOSS 2007 built-in Content Deployment functionality. The deployment failed after about an hour or so with the following error.
Content deployment job ‘Migrate All Sites’ failed. The exception thrown was ‘System.IO.IOException’ : ‘There is not enough space on the disk. ‘
I received similar error when I tried to use other tools, such as STSADM. Although the entire content was less than the amount of available disk space on both the source and the destination servers, it was obvious to me that SharePoint is doing something in the background that I don’t understand. Perhaps it is calculating the disk space in a manner that is more complicated and ends up using more disk space than I am expecting. Well, after a little research I stumbled upon Matt Takhar’s blog in which he explained how SharePoint figures out how much disk space is required to migrate the content. According to Matt, this is how the disk space is calculated in MOSS 2007 environment.
Content Migration Process
There are two places on the source server and two places on the destination server where the temporary files are created during the content migration. Essentially, the content migration process takes place in four different steps and each of these four steps require disk space.
1. Source Server Timer Service Temp Area
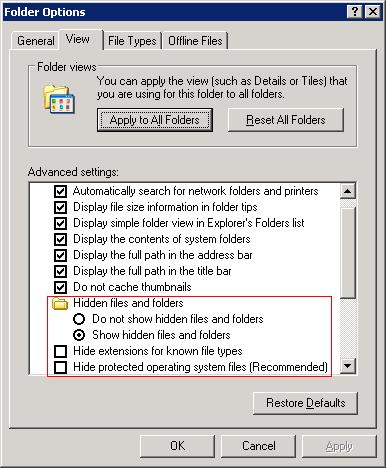
On the source server the Timer Service uses a temporary area to hold the database in the USERPROFILE temp storage area. For example, if the Timer Service is running under a service account called SPADMIN, the location will be C:\Documents and Settings\SPADMIN\Local Settings\Temp. NOTE: The Local Settings is a hidden folder so make sure that you unhide the hidden folders in Windows Explorer.
If the Timer Service is running under the Local System then the temp folder points to the system TEMP and TMP folders that are defined in your Environment Variables. By default, they point to C:\Windows\Temp.
2. Source Server Central Administration Temp Area
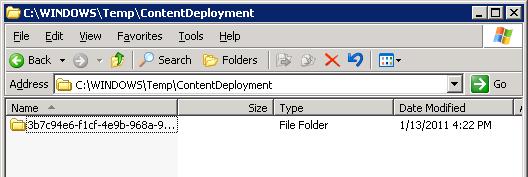
After the Timer Service holds all the data in it’s own temp area, it extracts it to CAB files and stores it in the storage area that is specified in the Central Administration. The exact location is Central Administration -> Operations Tab, Content Deployment -> Content deployment settings -> Temporary Files path. The default location is C:\WINDOWS\TEMP\ContentDeployment.
3. Destination Server Central Administration Temp Area
Next, the files are moved the temp storage area specified in the Central Administration temp area. The exact location is Central Administration -> Operations Tab, Content Deployment -> Content deployment settings -> Temporary Files path. The default location is C:\WINDOWS\TEMP\ContentDeployment.
4. Destination Server Timer Service Temp Area In the final step, the Timer Service on the destination server takes the CAB files and extract the contents to its temp location. From there it loads it into the database on the destination server.
Moral of the Story
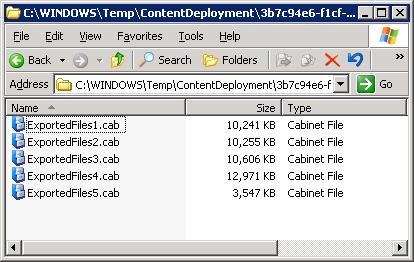
So the bottom line is that you need to ensure that at minimum you have two to three times the disk space of the size of the content that you are migrating available on both the source and destination servers. If your content is 20GB then make sure that at minimum you have 40GB-60GB available on the source server and at least 40GB-60GB on the destination server. Because the content migration process can take anywhere from 20GB-40GB, depending on compression and other factors, you need more than 40GB because there are other activities on the server that require disk space, such as system, pagefile, temporary data written by applications, logged on user’s profile activity, etc. If the migration is successful you can verify that the CAB files exist in the Temp\ContentDeployment folder.
Whether the migration fails or it is successful, I like to delete the content in the Temp folder so it is not wasting disk space. Here’s a sample of what the CAB files look like in the ContentDeployment folder after the migration on the destination server.
You can force the content deployment job to clear its cache. You can use the STSADM utility to clear the cache on the source server by using the following command.
stsadm -o editcontentdeploymentpath -pathname “ ” -keeptemporaryfiles Never -enablecompression yes
Copyright ©2011 Zubair Alexander. All rights reserved.


